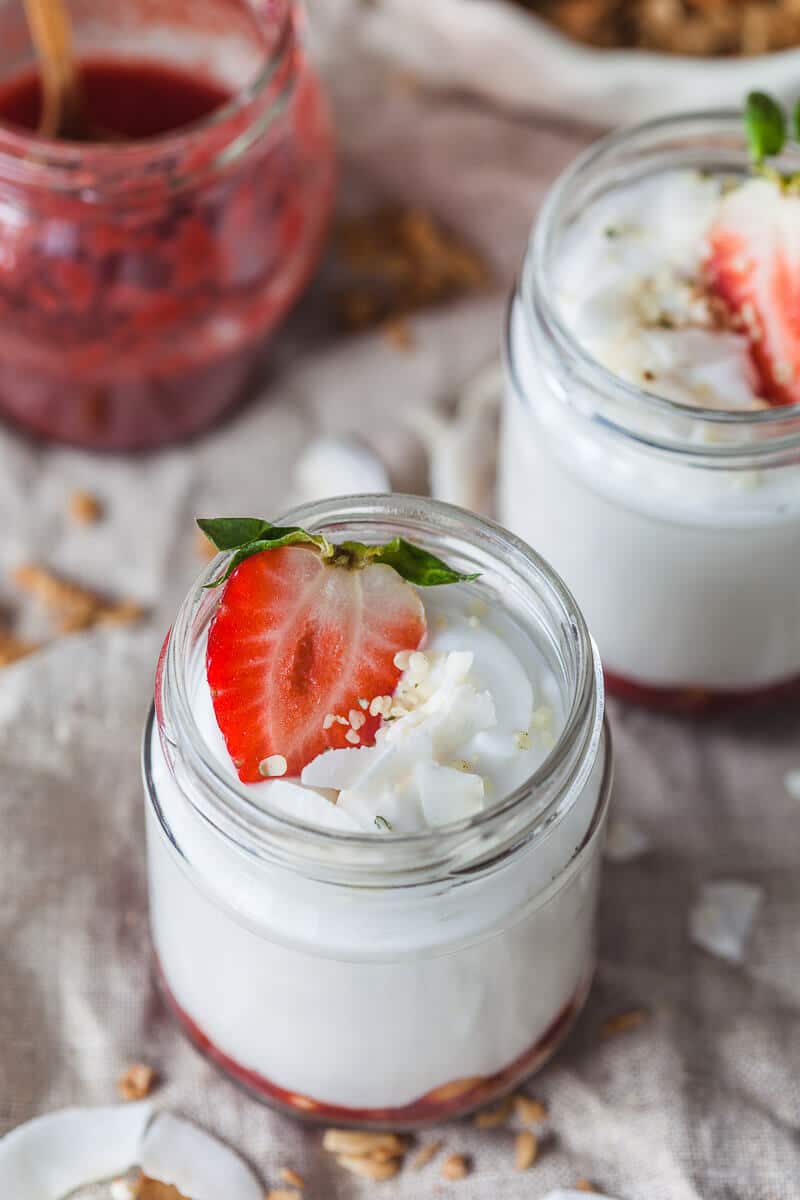
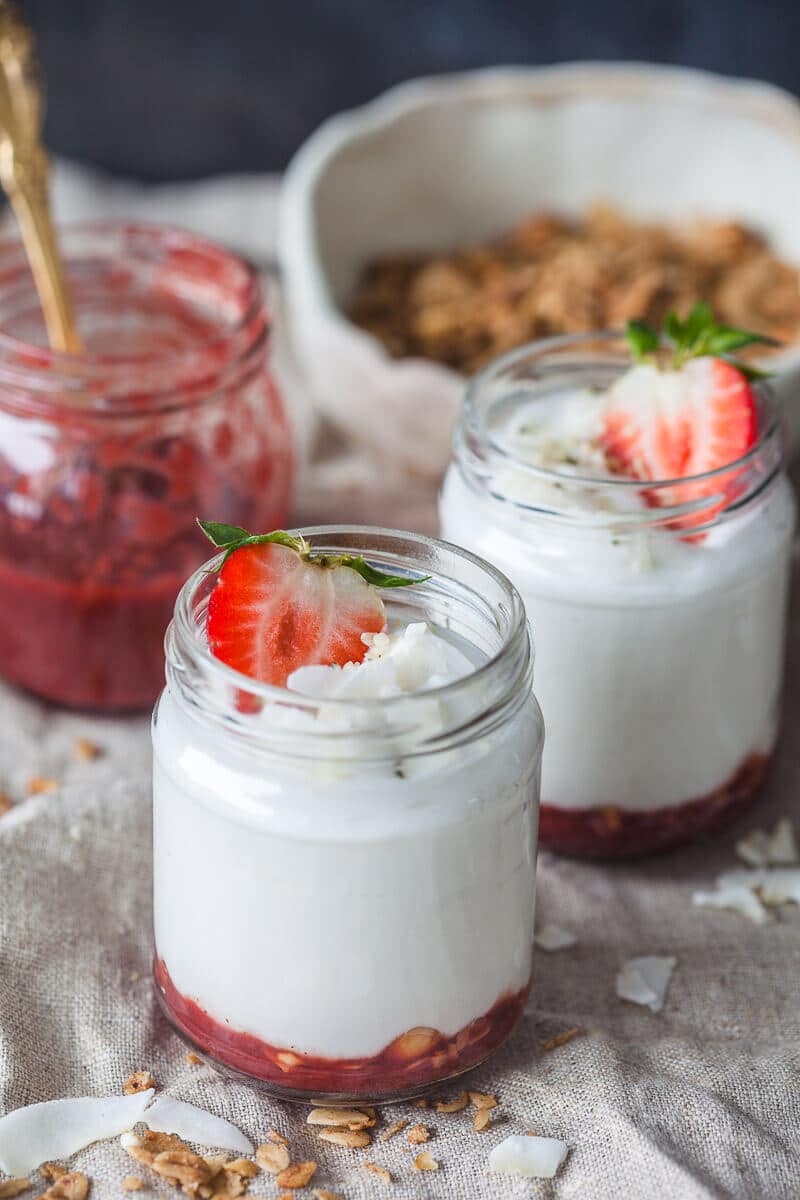
Homemade Coconut Yogurt is a great dairy-free plant-based alternative. Gluten-free, vegan and low carb, this yogurt only uses 2 ingredients!
I can’t tell you how excited I was to make this recipe ever since I first saw a video about it on youtube. There are many, many bloggers writing about it, so I’m just gonna write about my experience making this coconut yogurt.
To say I was skeptical about trying this process out is an understatement. It couldn’t possibly be easy, right? But then again, it does take only 2 ingredients: coconut milk and probiotics.
I had some regular coconut milk in my pantry, and I had some kind of probiotics as well. Might as well try it out, right?
Well, my first experience was a major no-no. As soon as I opened the can, it smelled a bit funny. Like, it was coconut milk, but kind of gross?
Since I had already opened it, I decided I might as well try the recipe out. I took a probiotics capsule, stirred it in the coconut milk, covered the container…. And the next day, it smelled sour, like spoilt milk. I thought I was on the right path, right? Then, the top of the milk started turning pink (??) and I got separation. I was unsure, but I bravely tasted it again.
Oh, hell no. Now, this sure can’t be right! I tossed everything away, there was no way I was eating that. I was sure I did something wrong. And well, it turned out, I did.
I am not one to give up so easily, so I turned to Google for an answer. I read other people’s experiences and concluded, the capsules may ONLY contain probiotics, and no other enzymes or prebiotics.
I checked our medicine cabinet again, and hidden away found 2 leftover capsules of strong vegan probiotics. I checked the brand online to be sure it contained no prebiotics. All looked good.
So I got myself some really good organic coconut milk. I opened it up and it smelled DELICIOUS. Like freshly opened coconut. Could eat it by the spoon! Perfect! I took a jar and cleaned the shit out of it. Once I was done with it, it sparkled.
I carefully poured in the coconut milk. Stirred. Opened my precious probiotics and added them to the milk. I stirred them in with a clean ceramic spoon. Covered with a clean thin dishtowel. Stored on the countertop, away from sunlight.
I checked it, oh, about every hour. Was it developing? Was it separating? Are there any pink hues? Does it smell sour?
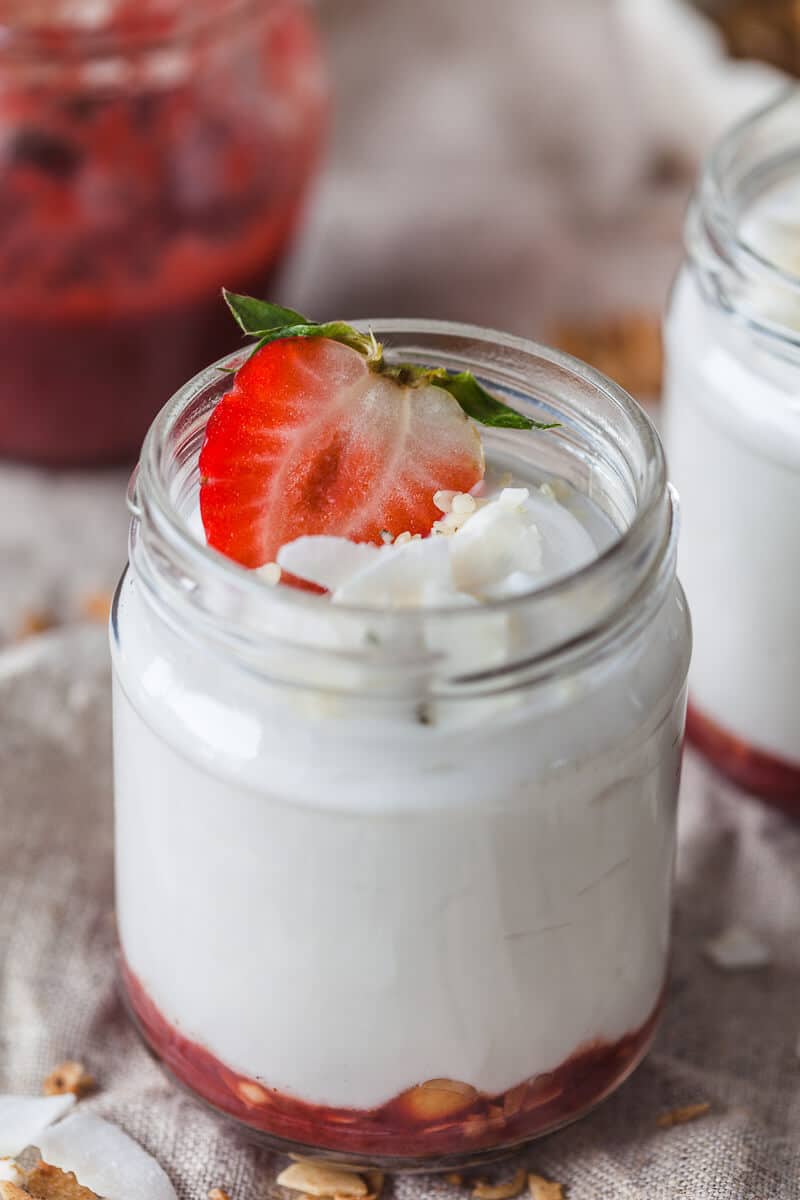
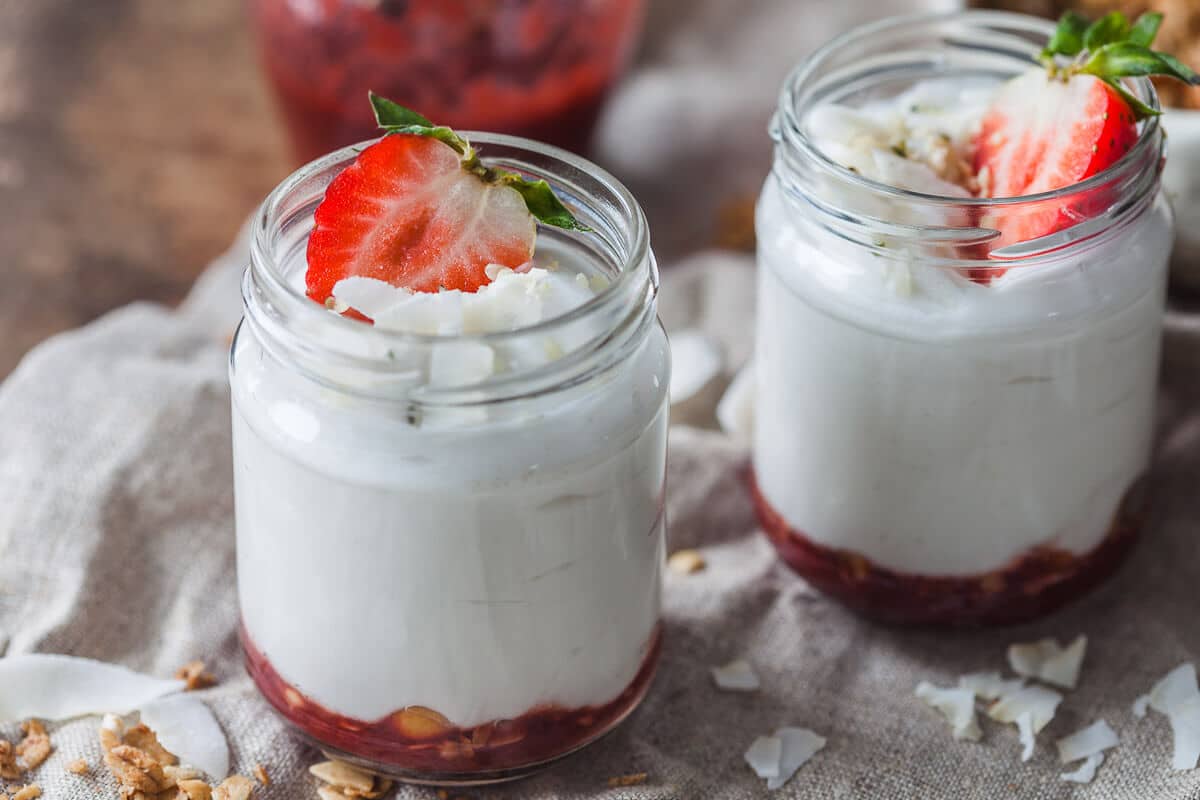
And friends, 24 hours later… PERFECTION. A jar of perfectly tangy, creamy and delicious coconut yogurt without sugars or additives. Completely natural, dairy-free, plant-based. How perfect is that?
I closed the jar with a lid and put in the fridge overnight. When I was ready to use it, it was thick, firm and airy, light and delicious!
So if I could do it, you too can make yourself some natural dairy-free coconut yogurt right at home, with just 2 ingredients and no fancy yogurt maker!
Why make your own coconut yogurt?
First of all, I LOVE coconut yogurt. Out of all the plant-based yogurts I tried, coconut yogurt is the one I like the best. But, for me, finding coconut yogurt is a major task. I have to go out of my way for it, visit specific stores that may or may not stock it.
Yogurt is also healthy, with probiotics cultures, but store-bought often contains additives or sugar, or it just doesn’t taste how I would like it. So I mostly wasn’t even eating yogurt (plant-based or regular due to my allergy).
When you make your own, you can be sure of the ingredients you use, and only use a sweetener if you want to.
Plus, homemade coconut yogurt is simply DELICIOUS! (And healthy. And versatile!)
To make your own coconut yogurt you’ll need strong probiotics and coconut milk. I checked the brand I use and it contains guar gum as a thickener, so you may need to adjust for it.
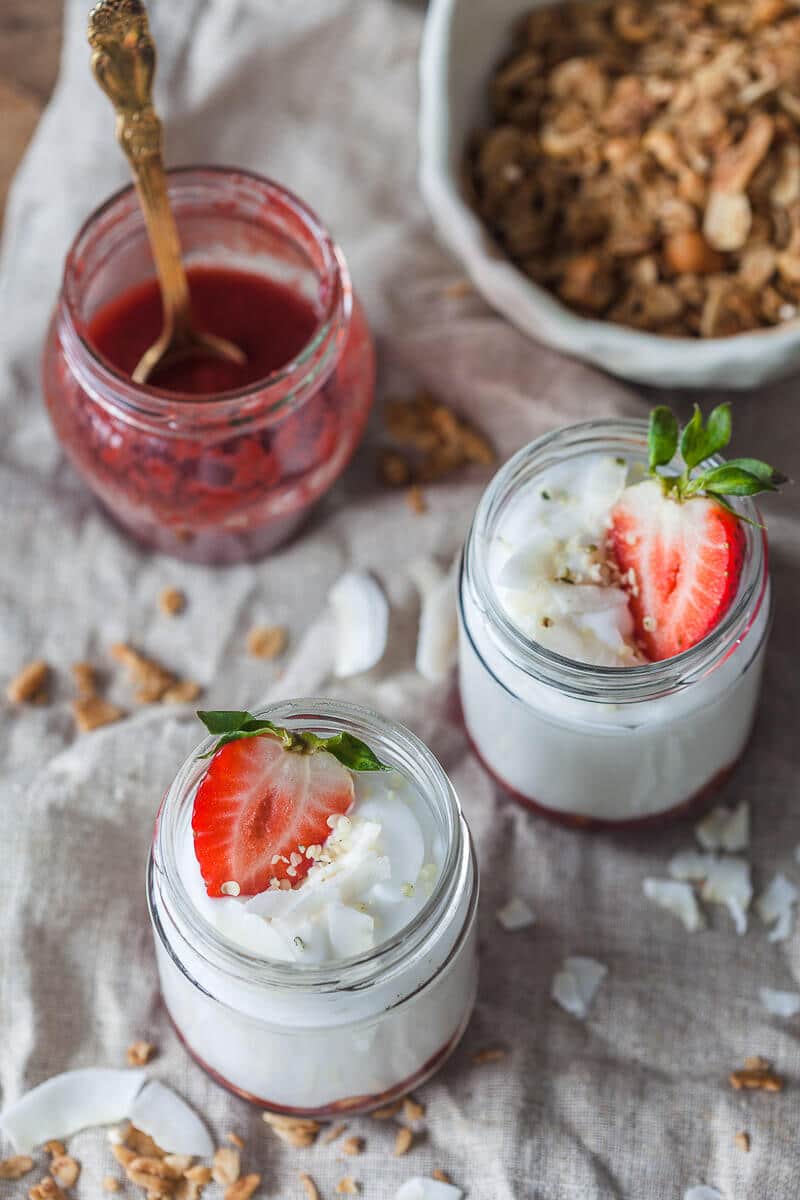
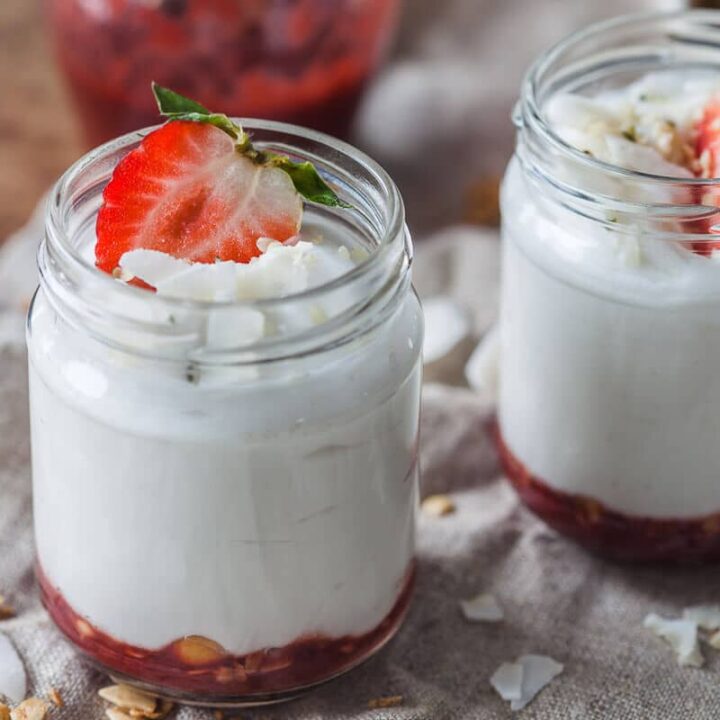
Homemade Coconut Yogurt {Vegan, Dairy-Free}
Homemade Coconut Yogurt is a great dairy-free plant-based alternative. Gluten-free, vegan, low carb and very easy to make!
Ingredients
- 1 can full-fat coconut milk
- 2 probiotic capsules
Instructions
- Open your coconut milk can and scoop out the solid cream. Depending how thick you like your yogurt, add more or none of the coconut water.
- Place coconut milk in a clean jar or glass container. Stir the milk to combine, then take your probiotic capsules, open them up and add the contents to the milk (discard the leftover capsule).
- With a clean ceramic spoon, stir in the probiotics. Do not use a metal spoon. Cover the jar with a clean cheese cloth or thin dishtowel, tighten with an elastic band and leave to sit on the counter for 24-48 hours (depending how warm your house is). Keep away from direct sunlight.
- Our coconut yogurt was ready in about 24 hours. You can give it a taste during the process, to make sure when your yogurt is done - look for the distinctive tangy yogurt taste.
- Once done, place a lid on your container and place the yogurt in fridge for a couple of hours to thicken and firm. Keep refrigerated and consume in a couple of days.
Notes
* we used organic coconut milk with guar gum as thickener and Waya Forte probiotics that contain up to about 10 billion colonies, so 20 billion in total.
Nutrition Information:
Serving Size: 100 gAmount Per Serving: Calories: 171.5Total Fat: 17.7gSaturated Fat: 15.7gSodium: 10.2mgCarbohydrates: 4gFiber: 0.8gSugar: 3.8gProtein: 1.4g
We’re answering your questions!
Why you shouldn’t use metal utensils when making coconut yogurt
- We recommend using ceramic, wooden or plastic utensils when stirring in your probiotics, as metal utensil may affect the probiotics in a negative way and your coconut yogurt may not develop. Stirring or whisking the coconut milk with a metal whisk before adding probiotics is fine.
My coconut milk looks funny (lumpy, sour). Should I add probiotics?
- No! If your coconut milk is off, adding probiotics will not result in coconut yogurt, and you’ll only end up wasting probiotics. Your coconut milk should always be creamy, not lumpy, white and smell deliciously of coconuts. If you would not eat the coconut milk out of the can, you should not attempt making coconut yogurt.
Try also our other homemade fermented recipes:
You can connect with us on our Instagram and Facebook or on Pinterest. We share many behind-the-scenes photos and step-by-step recipes in our Instagram Stories, so be sure to check it out!
If you like this recipe, you can let us know in the comments below or on social media using #vibrantplate and tag us @vibrantplate. We’re always happy to read your feedback and LOVE seeing your take on our recipes.
