


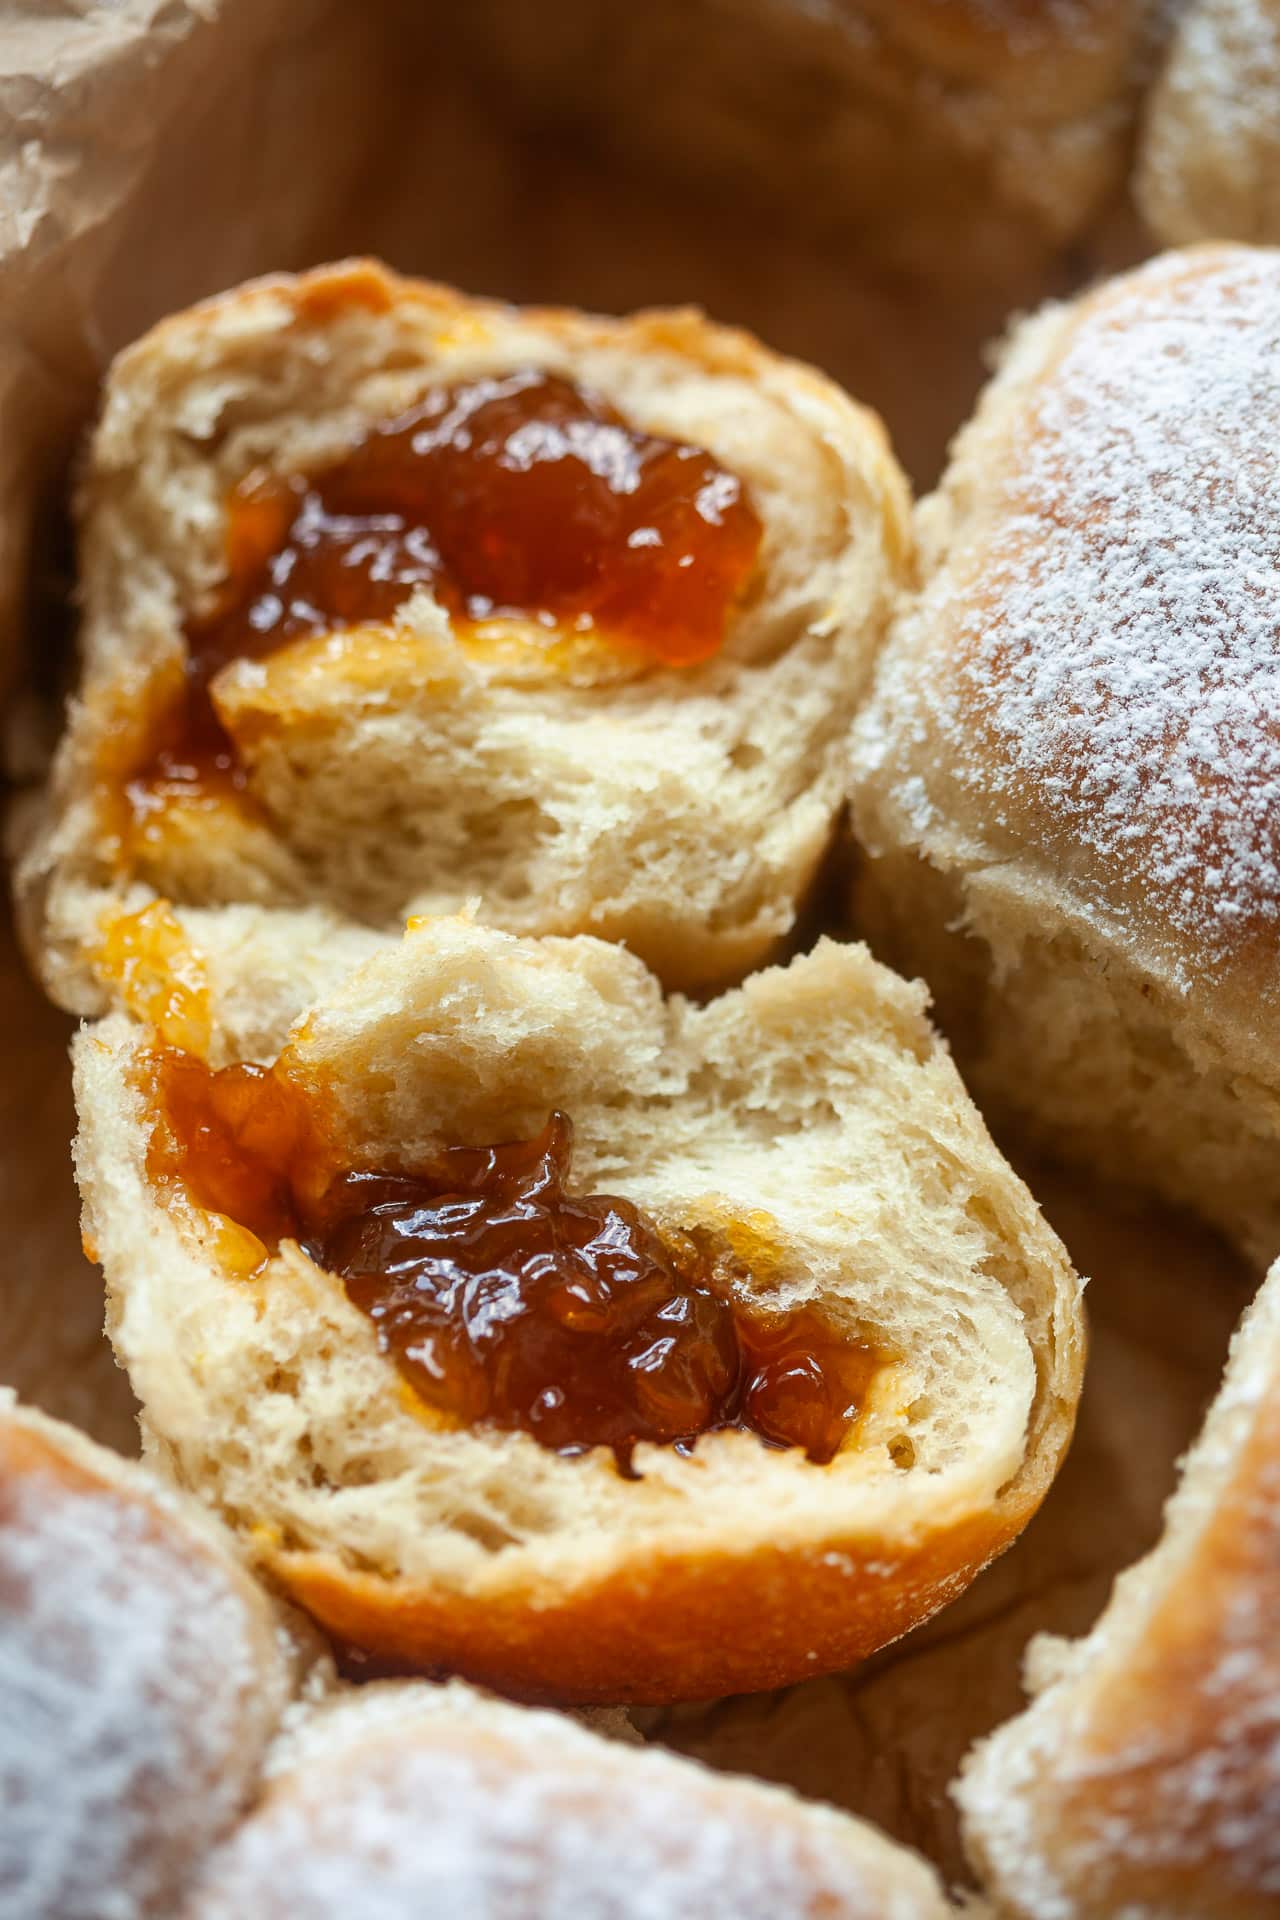
These Vegan Jam Filled Buns are my ultimate comfort dessert or breakfast treat. Soft, sweet, and bursting with jam. Bake them today!
Craving something comforting, pillowy, and sweet? These Vegan Jam Filled Buns are the answer. They are soft, jammy, and utterly irresistible!
Fun fact – these sweet buns may just be one of my favorite desserts. They are a traditional European treat, most popular in Austria, Germany, and Slovenia, and to me, they feel very nostalgic, as it is something we would often have in our childhood.
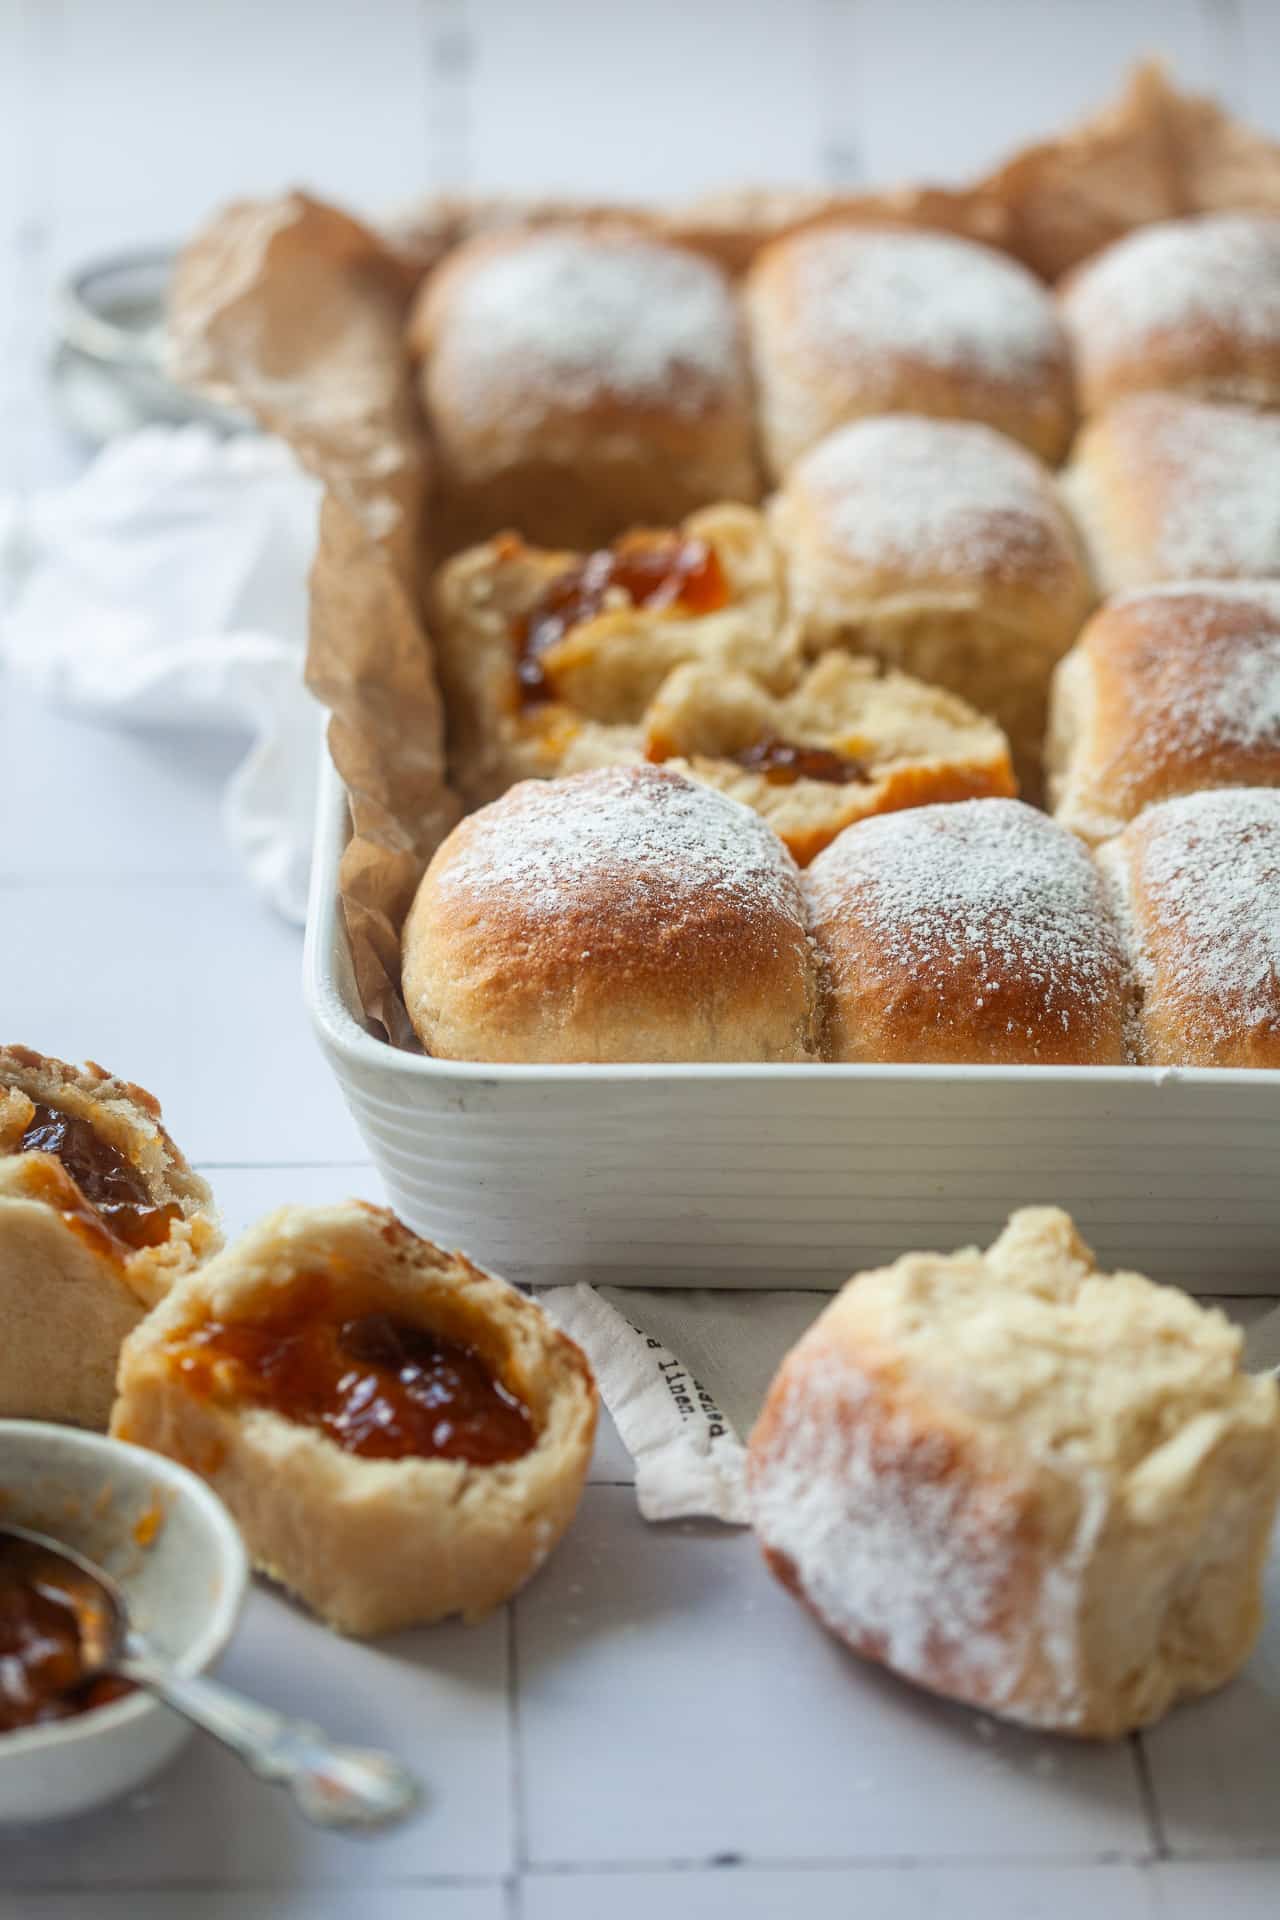
And what’s not to like? These buns are the perfect blend of soft, fluffy dough and sweet, fruity filling. They are pure comfort in every bite, and best when still slightly warm from the oven.
Plus, they’re easy to make, customizable with your favorite jams (or even chocolate!), and completely plant-based, so everyone can enjoy them!
Get baking, you won’t regret it!
Vegan Jam Filled Buns Ingredients
Here’s everything you need to make soft, fluffy, and delicious Vegan Jam-Filled Buns:
For the Buns:
- All-purpose flour: The base of the dough creates soft and fluffy buns. You can substitute with bread flour for a slightly chewier texture.
- Yeast: you can use fresh or dry yeast, just follow the recipe instructions below.
- Soy milk for moisture. You can use other plant-based milk, like almond, oat, or coconut milk.
- Sugar to sweeten the dough.
- Vegan butter: makes the dough tender and rich. Swap with coconut oil or neutral vegetable oil if needed.
- Applesauce: acts as an egg replacer, keeping the buns moist. Mashed banana or dairy-free yogurt can also work.
- A pinch of salt
- Vanilla sugar: adds a hint of sweetness and warmth. You can use 1 tsp of vanilla extract instead.
- Lemon zest: gives a subtle citrusy aroma that pairs beautifully with the jam filling.
For filling & serving:
- Jam: choose your favorite jam! You can also use fruit preserves or thick fruit compote. We love using apricot or plum jam in this recipe. Or, add some chocolate spread in there instead of jam!
- Powdered sugar for dusting

How to make Vegan Jam Filled Buns
Here’s a detailed version of the baking instructions with additional tips and tricks for perfect Vegan Jam-Filled Buns:
Activate the Yeast:
If using fresh yeast, crumble it into a small cup with half of the lukewarm soy milk (125 ml) and one tablespoon of sugar. Stir gently and let it sit for 10-15 minutes until bubbles and foam appear. This step ensures the yeast is active.
If using dry yeast, mix it with a tablespoon of flour and some lukewarm soy milk before letting it rest for about 10 minutes. This helps the yeast activate and blend smoothly into the dough.
The milk should be warm, but not hot (around 37°C / 98°F), as too much heat can kill the yeast.
Prepare the Dough:
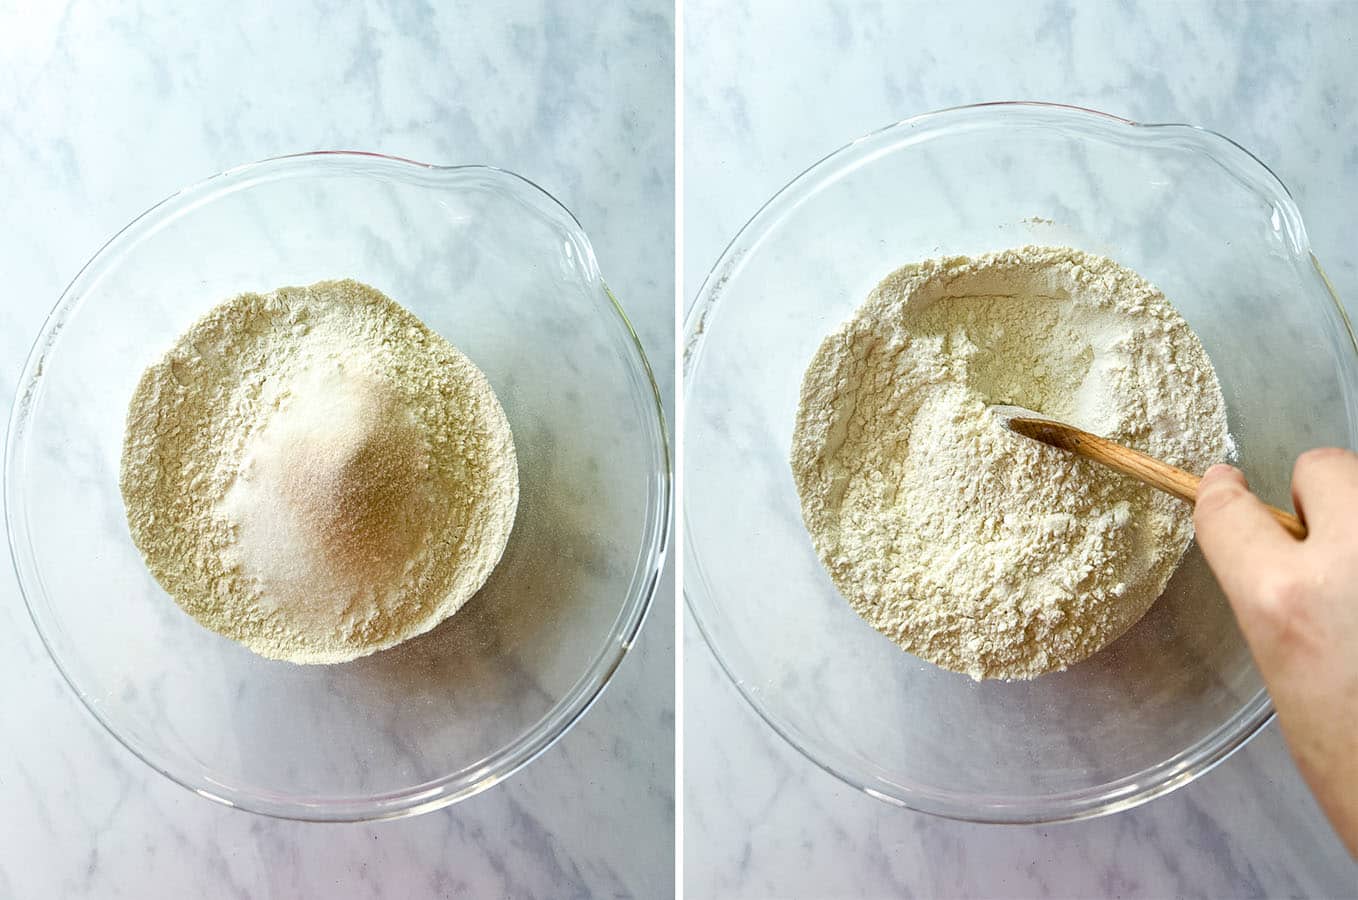
In a large mixing bowl, whisk together the flour, remaining sugar, vanilla sugar, lemon zest, and a pinch of salt.
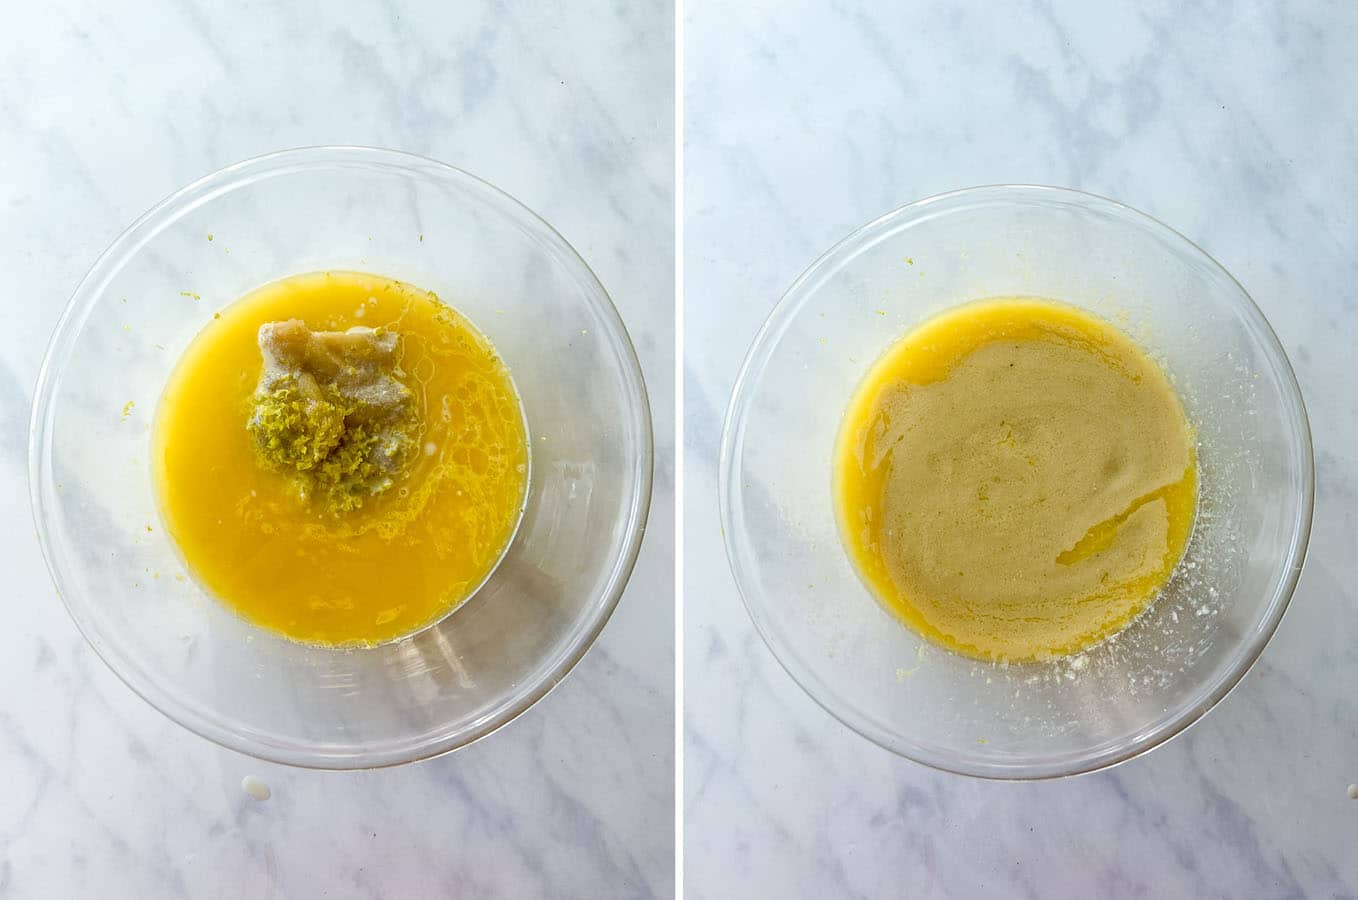
In a separate bowl, combine the applesauce, melted vegan butter, the remaining lukewarm soy milk, and the activated yeast mixture.
Gradually add the wet ingredients to the dry ingredients and start kneading. Knead for 8-10 minutes until a smooth and elastic dough forms. The dough should be soft but not sticky.
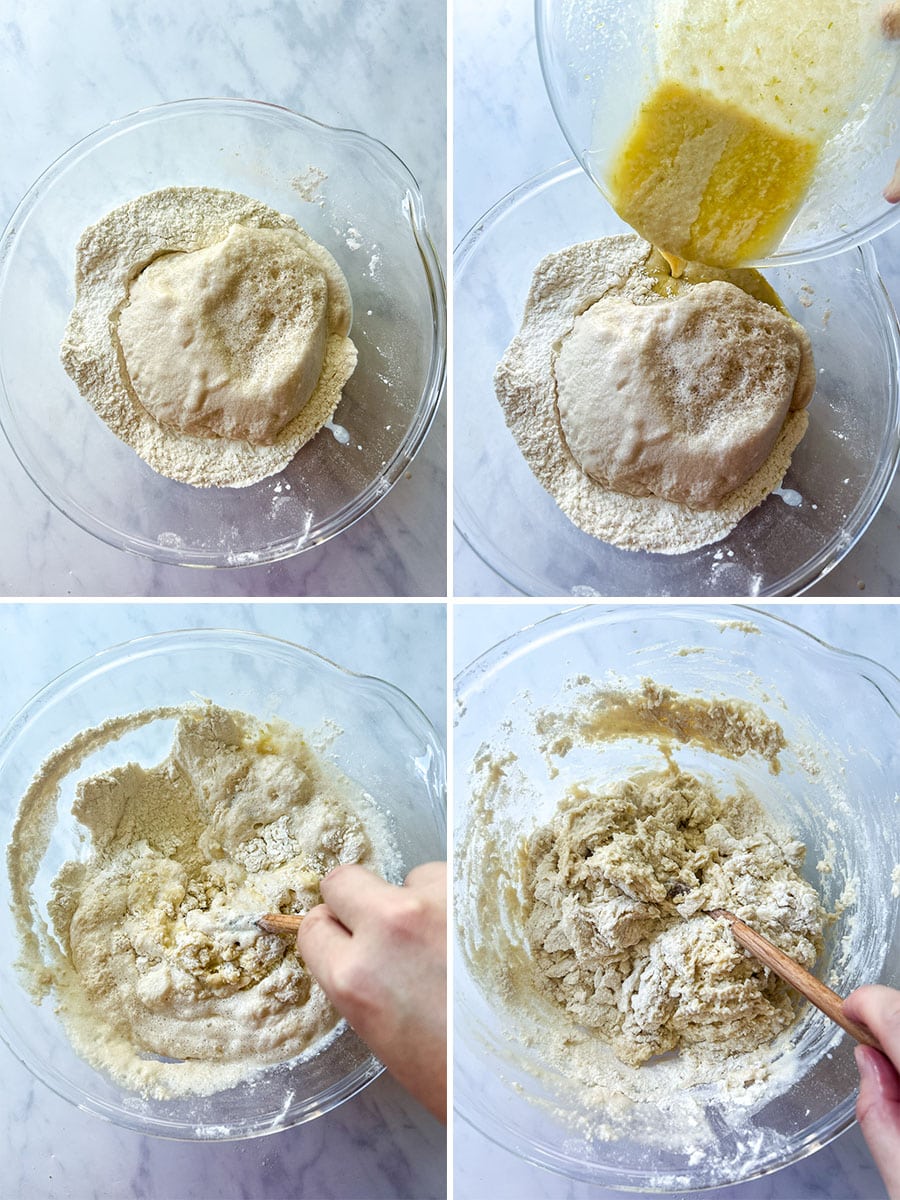
If the dough feels too dry, add a tablespoon of soy milk at a time. If it’s too wet, sprinkle in a bit more flour.
Cover the bowl with a clean kitchen towel and let the dough rise in a warm, draft-free place for about 1 hour, or until it doubles in size.
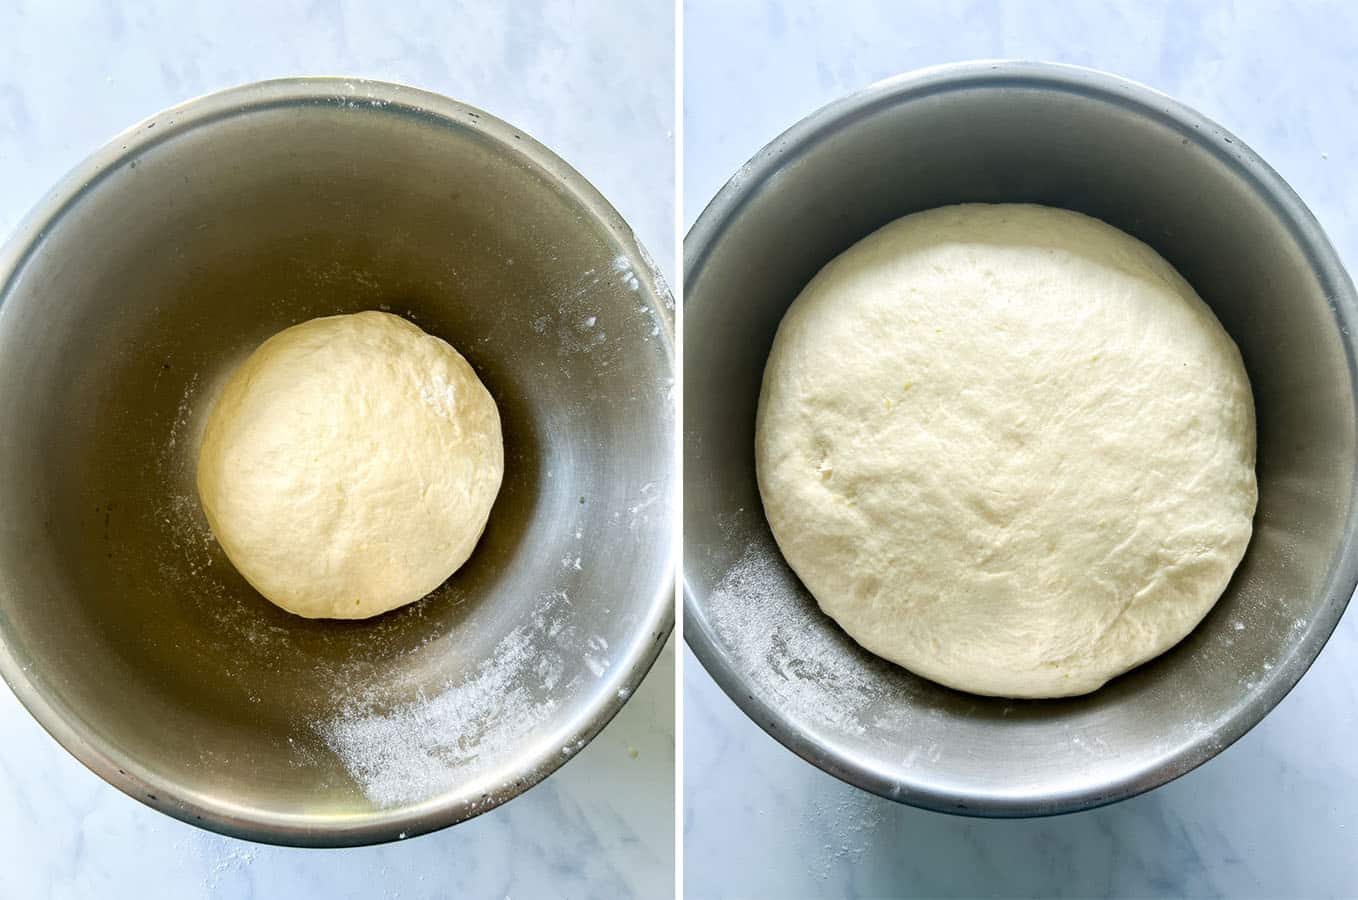
If your kitchen is cold, preheat your oven for a few minutes, turn it off, and place the dough inside with the door slightly open.
Shape the Buns:
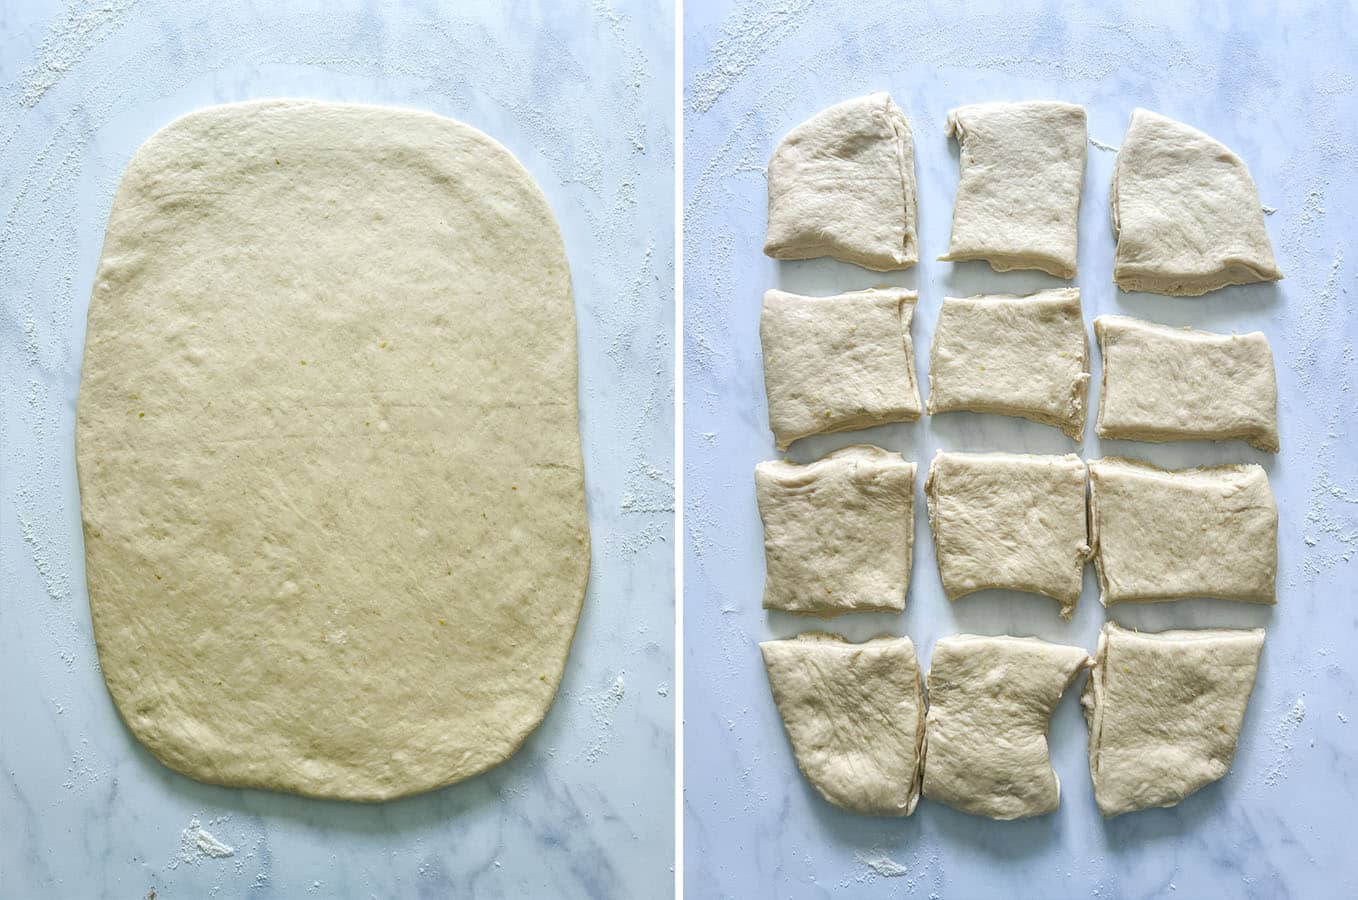
Lightly flour your work surface and roll out the dough to about 1 cm in thickness.
Cut the dough into 8×8 cm squares using a knife or pizza cutter for even shapes.
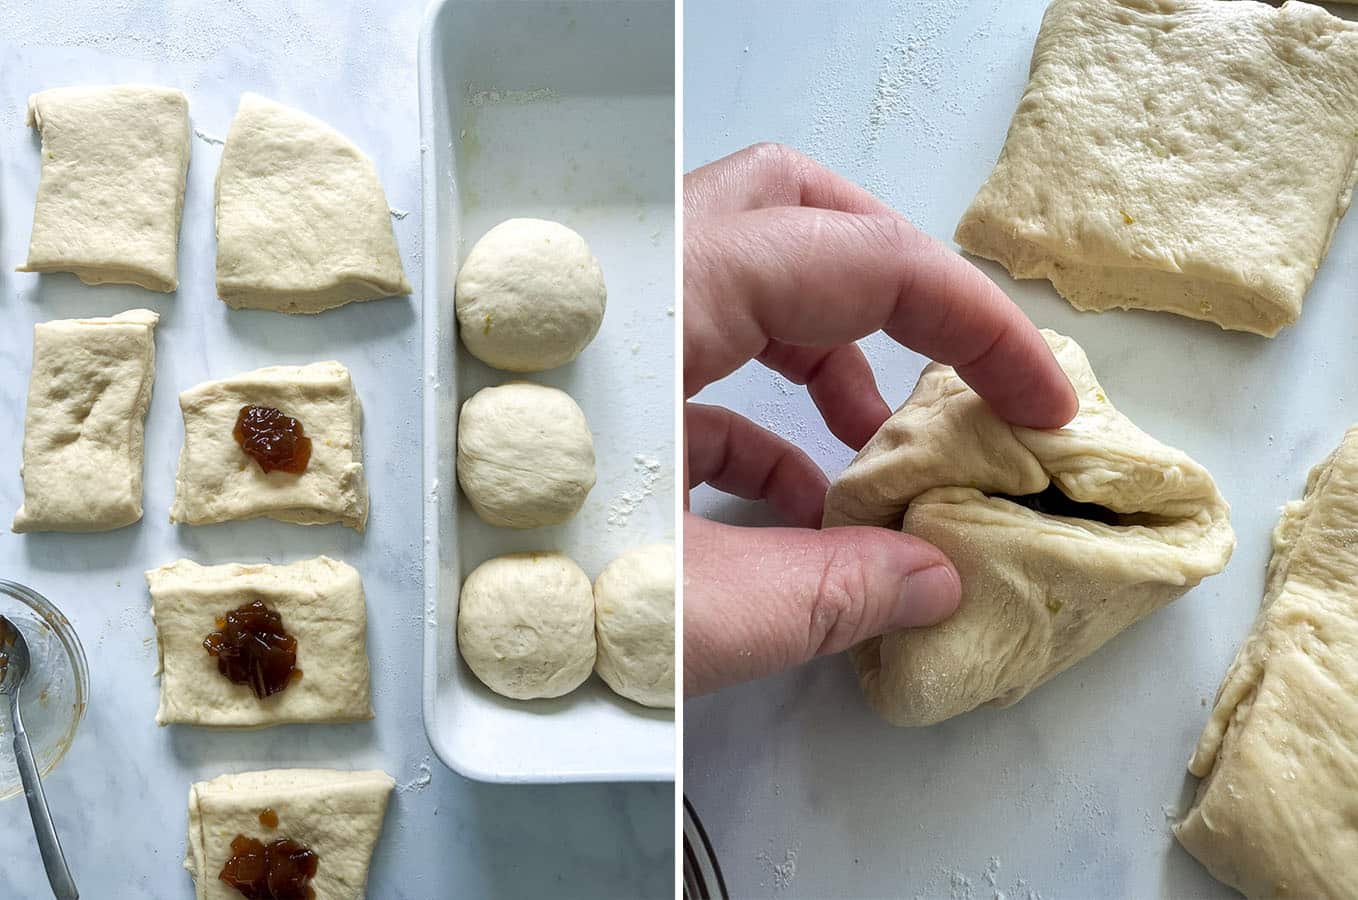
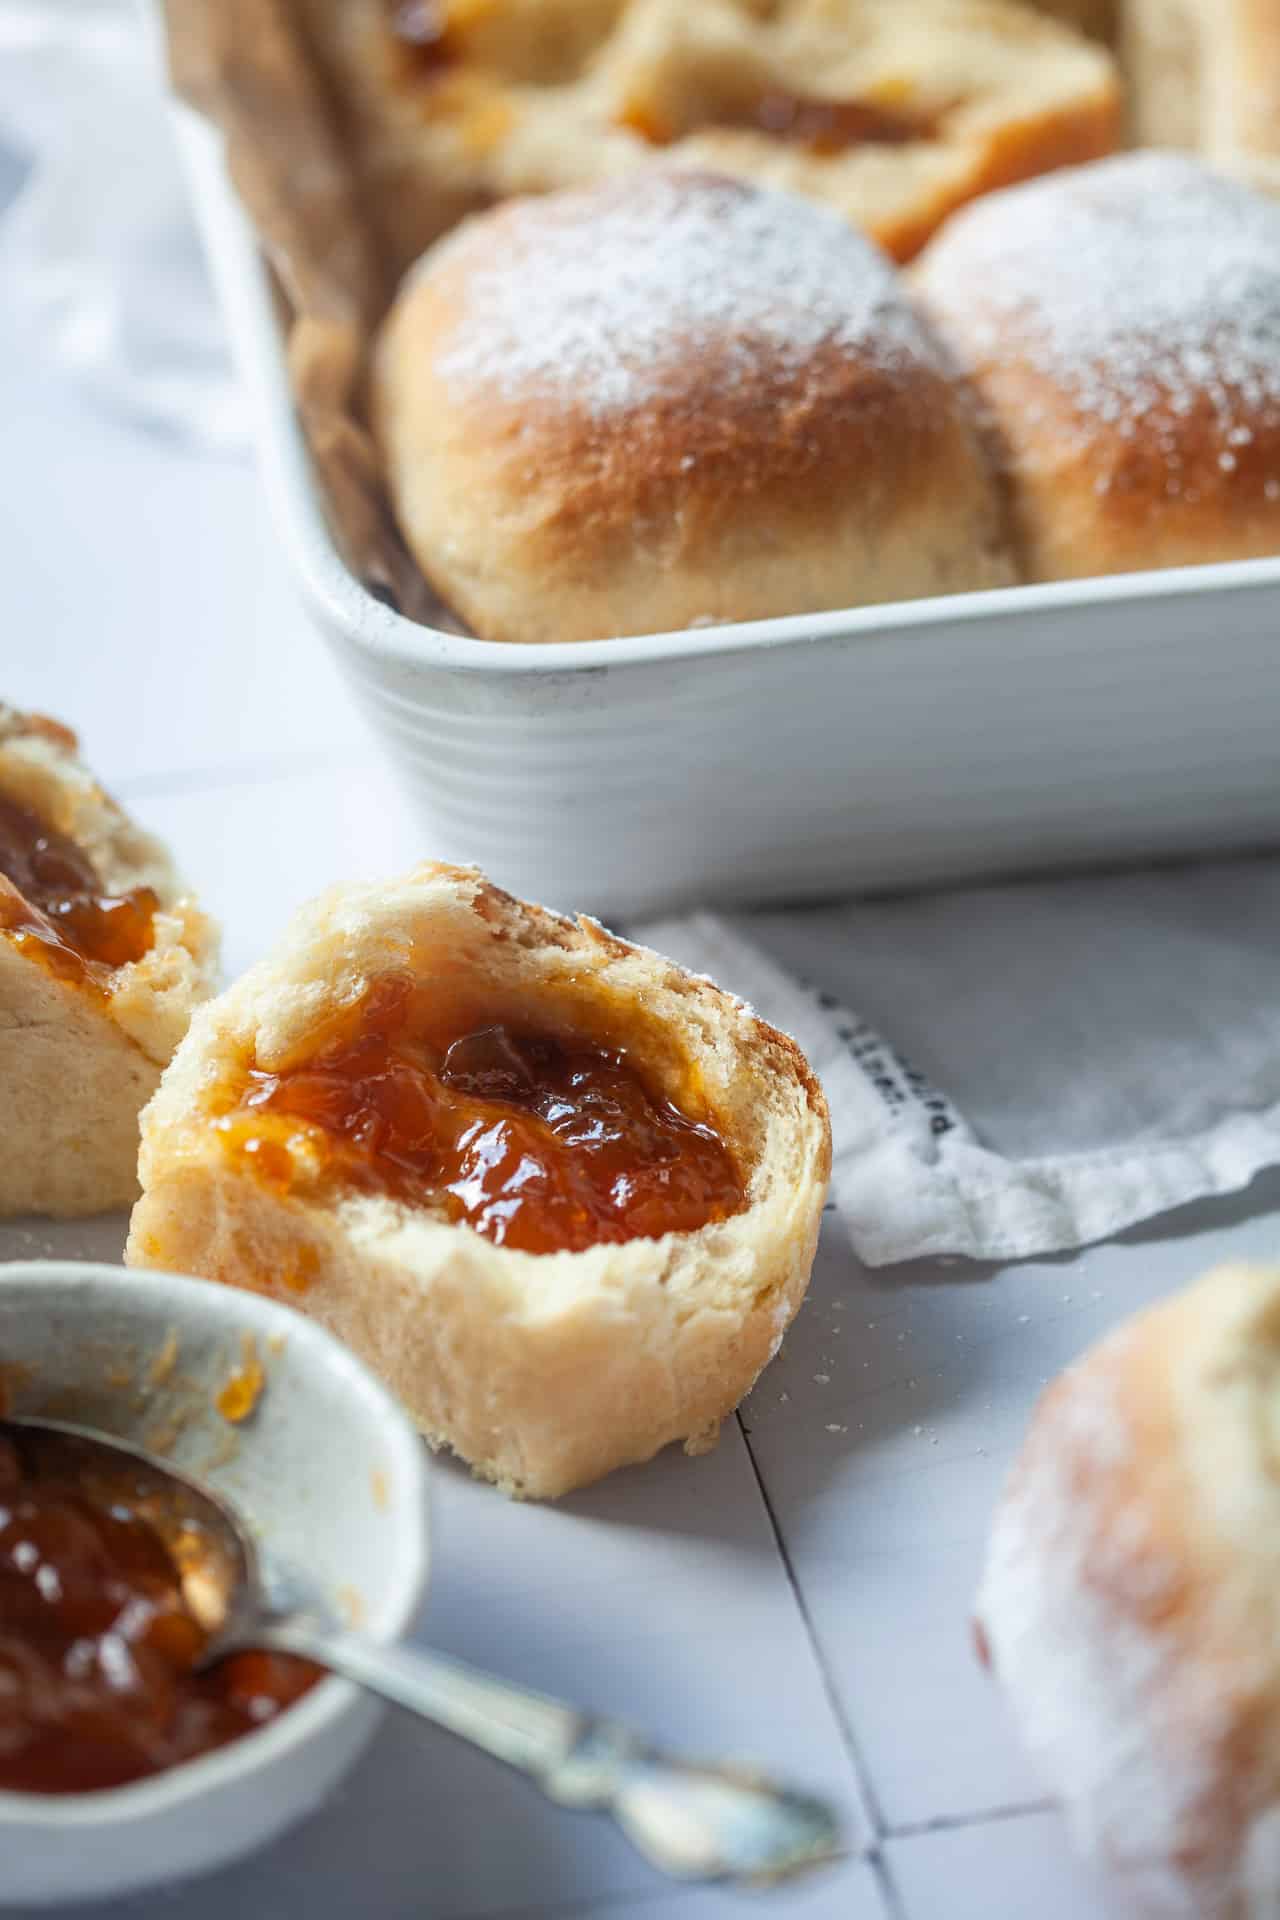
Place a teaspoon of jam in the center of each square. Try using thicker jam or preserves to prevent it from oozing out while baking.
Bring the edges of the dough together, pinching them tightly to seal the jam inside. Gently roll the sealed dough into a smooth ball and place it seam-side down in a greased baking dish.
If the dough isn’t sealing properly, dampen your fingertips with a little water or plant milk before pinching.
Second Rise:
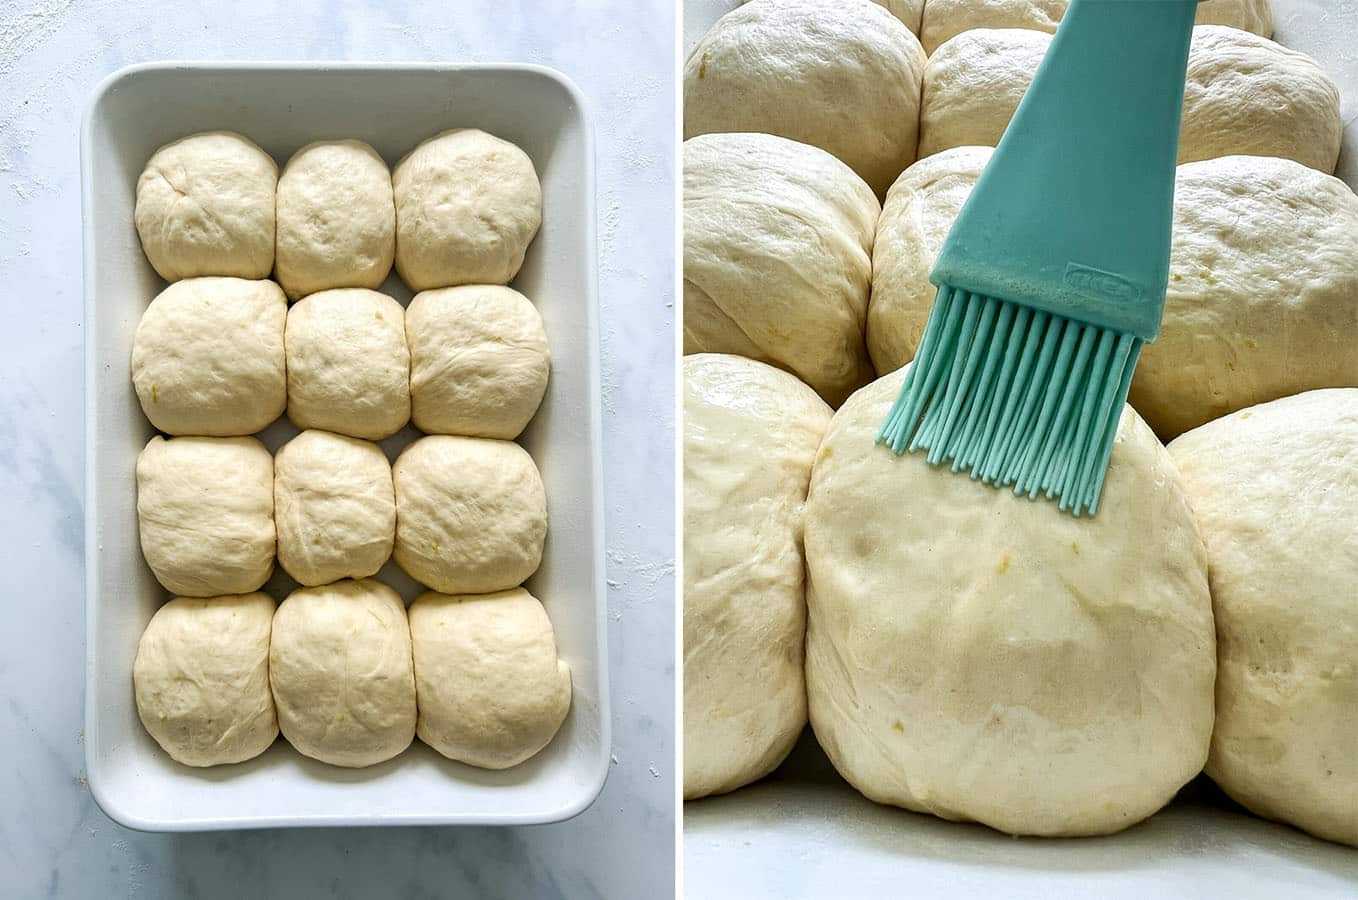
Arrange the buns slightly apart in the baking dish so they have room to expand. Cover again and let them rise for another 20-30 minutes. They should puff up slightly before baking. This second rise helps achieve a light and fluffy texture – don’t skip it!
Bake:
Preheat the oven to 180°C / 356°F.
Before baking, brush the buns with a mixture of melted vegan butter, 1 tablespoon of plant milk, and a pinch of sugar for a golden-brown finish.
Bake for 25-30 minutes, or until the buns turn lightly golden on top.
If the tops brown too quickly, loosely cover the dish with aluminum foil in the last 5-10 minutes.
Serve:
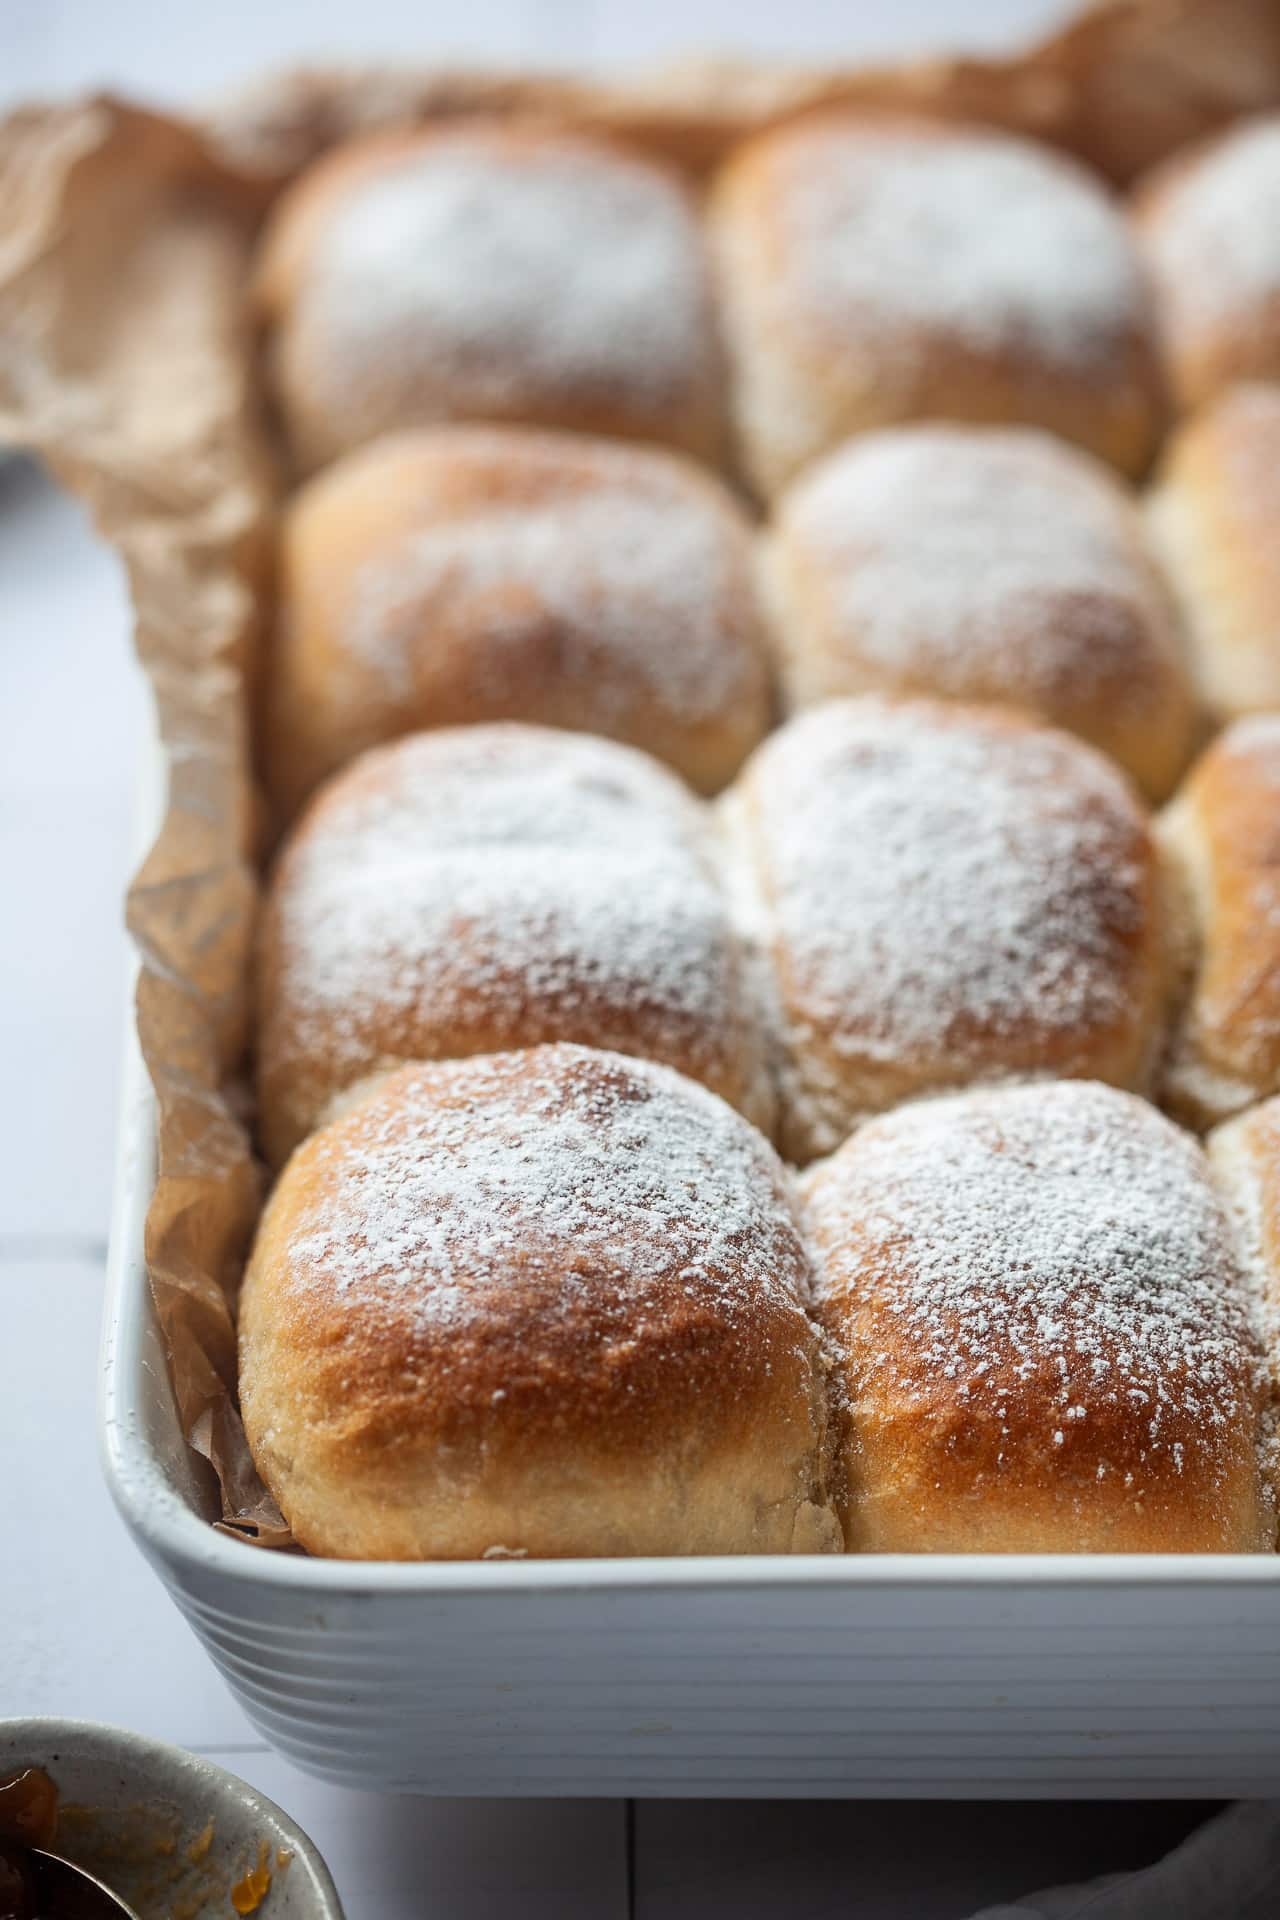
Let the buns cool slightly before dusting them with powdered sugar for an extra-sweet touch and serve.
See our serving ideas below for tips on how to enjoy these delicious sweet buns!
Serving ideas
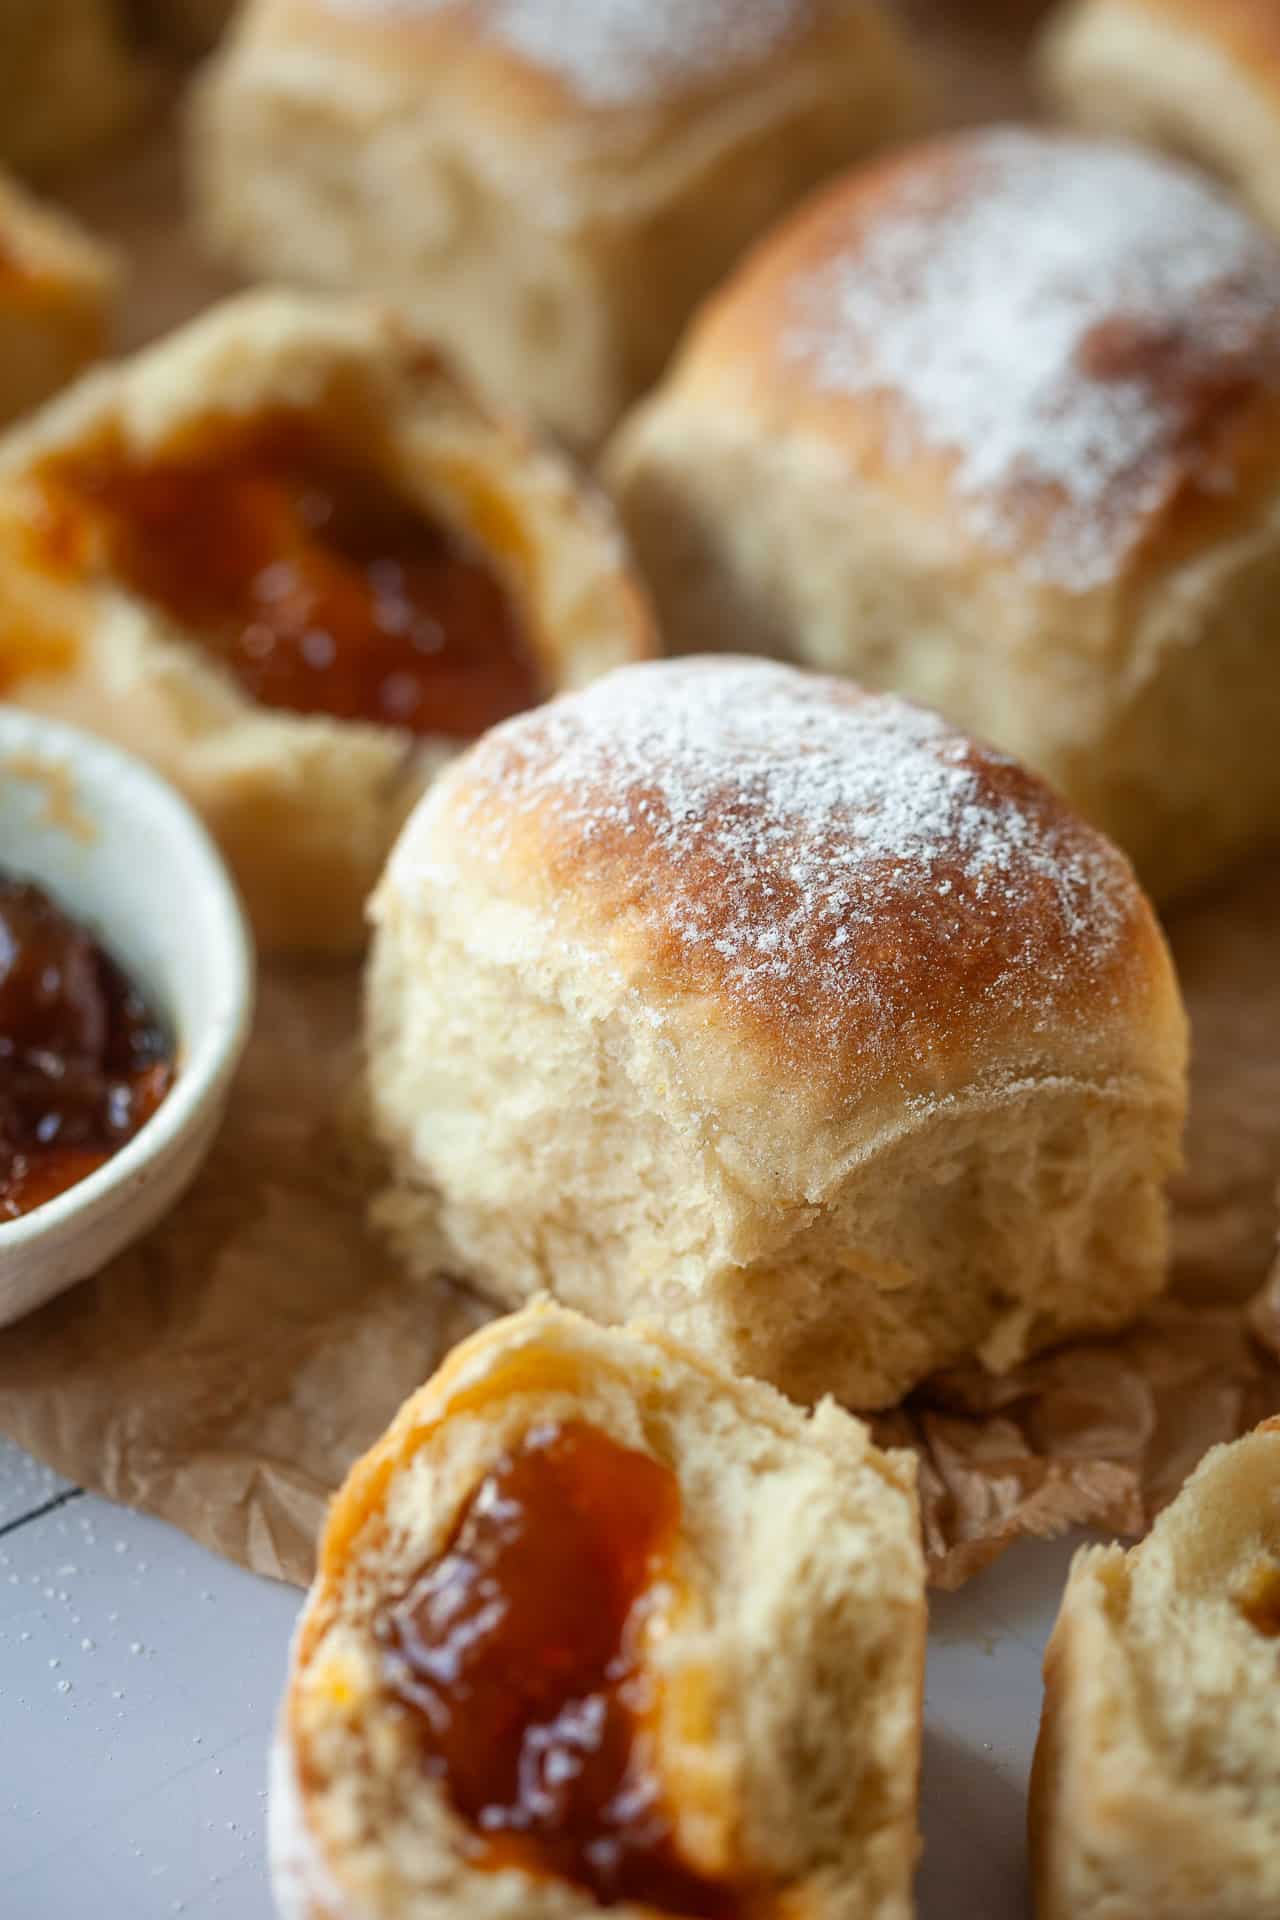
Serve these sweet buns warm or at room temperature – they’re best enjoyed fresh but can be reheated the next day.
Sprinkle the warm buns with powdered sugar and enjoy them with a cup of coffee or tea.
Get creative with the buns by trying these fun and delicious serving ideas:
- While still warm, brush with melted vegan butter and roll in a mix of cinnamon and sugar for a doughnut-like twist.
- Melt dark vegan chocolate and drizzle it over the buns.
- Serve with a side of vegan vanilla sauce, melted chocolate, or dairy-free whipped cream for dipping.
- Slice the buns in half and add a layer of coconut whipped cream and fresh berries for a summery dessert.
- Turn them into a treat by adding a scoop of vegan ice cream in the middle – perfect for warm days!
Whether you keep it classic with powdered sugar or go all out with chocolate drizzles and ice cream, there’s a perfect way to enjoy them for every occasion!
How would you serve them? 😊
Storage tips
These buns are best enjoyed while freshly baked and consumed within a day or two.
Room temperature:
Store the buns in an airtight container or wrapped in a clean kitchen towel and bagged for up to 2 days. This keeps them soft and prevents them from drying out.
Refrigeration:
If you need to keep them longer, place them in an airtight container in the fridge for up to 5 days. Warm them up before serving to restore their soft texture.
Freezing:
These buns freeze well! Place them in a freezer-safe bag or container, separating layers with parchment paper, and freeze for up to 3 months.
Let them thaw on the counter before serving.
Reheating:
- Microwave: Warm individual buns for 15-20 seconds to make them soft again.
- Oven: Reheat at 160°C / 320°F for 5-7 minutes until warm.
- Steaming: For extra softness, place them in a steaming basket for a couple of minutes.
Enjoy them fresh, warm, and soft for the best experience!
Similar recipes:
This recipe is sponsored by Hofer Austria.

Vegan Jam Filled Buns
Soft, fluffy, and bursting with jam in every bite, these Vegan Jam-Filled Buns are the ultimate comfort snack or breakfast treat! They’re easy to make and even easier to enjoy—just shape, fill with jam, bake, and watch them disappear. Perfect with a cup of tea or coffee!
Ingredients
For the buns:
- 500 grams all-purpose flour
- 25 grams fresh yeast (or 1 packet of dry yeast)
- 250 milliliters soy milk (or other plant-based milk)
- 50 grams sugar
- 80 grams vegan butter (melted and cooled)
- 120 grams applesauce
- A pinch of salt
- 1 packet of vanilla sugar
- Grated zest of 1 lemon
Filling and serving:
- 200 grams of jam for filling (e.g., apricot, plum, strawberry)
- Powdered sugar for dusting (optional)
Instructions
1. Prepare the yeast:
- If using fresh yeast, crumble it into a cup with half of the lukewarm soy milk (125 ml) and a tablespoon of sugar. Let it rise for 10-15 minutes until bubbles form.
- If you use dry yeast, mix it with a few tablespoons of flour and lukewarm soy milk, and let it rise for 10 minutes.
2. Prepare the Dough:
- Mix the flour, remaining sugar, vanilla sugar, and a pinch of salt in a large bowl.
- Mix the applesauce, lemon zest, melted margarine, rose yeast (if using fresh yeast), and the remaining lukewarm soy milk in a separate bowl.
- Add the liquid mixture to the dry ingredients and knead into a smooth, elastic dough. Knead the dough for about 10 minutes until it no longer sticks to your hands and the bowl.
- If the dough is too firm, add a little more soy milk; if it's too soft, add a bit more flour.
- Cover the dough with a kitchen cloth and let it rise in a warm place for about 1 hour, until it doubles in size.
3. Shape the Buns:
- Roll out the risen dough on a lightly floured surface to a thickness of about 1 cm.
- Cut the dough into squares, approximately 8x8 cm in size.
- Place a teaspoon of jam in the center of each square.
- Bring the dough's edges together and pinch to form a ball. Make sure the jam is well enclosed so it doesn't leak out during baking.
4. Second rise:
- Place the buns seam-side down in a greased baking dish, leaving a little space between them to allow for rising.
- Cover the baking dish and let the buns rise for another 20-30 minutes.
5. Bake:
- Meanwhile, preheat the oven to 180°C / 356°F.
- Before placing the baking dish in the oven, brush the buns with a mixture of melted margarine, a tablespoon of plant milk, and a pinch of sugar.
- Bake for about 25-30 minutes or until golden brown.
6. Serve:
- Let the baked buns cool slightly, then dust them with powdered sugar if desired, and serve warm or at room-temperature.
Nutrition Information:
Yield: 12 Serving Size: 1Amount Per Serving: Calories: 322Total Fat: 6gSaturated Fat: 1gTrans Fat: 1gUnsaturated Fat: 4gCholesterol: 0mgSodium: 29mgCarbohydrates: 61gFiber: 2gSugar: 25gProtein: 5g
Nutrition data is automatically calculated using Nutritionix and may not be accurate.